How to create your invoice
Under the Invoice tab
Click on the quick link of the Contact you want to select or type the Contact’s name into the box on the right.

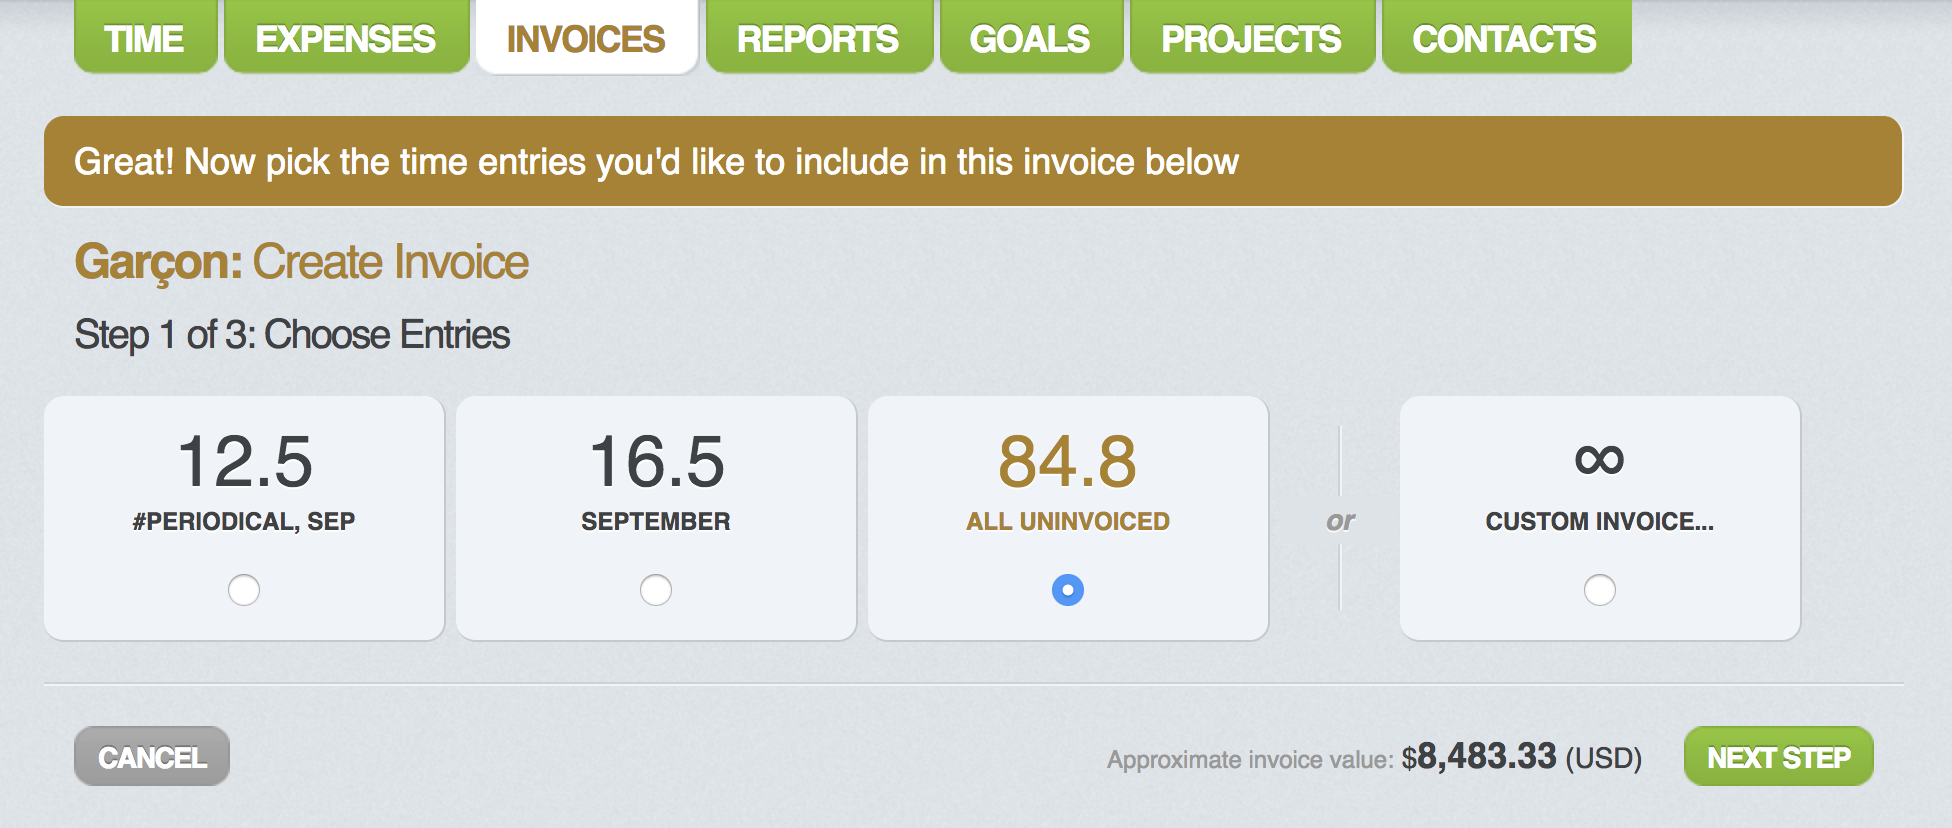
Step 1 - Choose your time entries
Choose which time entries you want to Invoice. Here the options are; ‘All uninvoiced time’, ‘Custom Invoice’ or the system will pull out some pre-made choices for you to select based on time entries you have docked, for example, it may give you one of your projects or last month’s time.
If you choose a pre-made entry, all the time entries for that selection will be included. If you want to choose time entries on an individual basis you can select to create a custom Invoice.
When creating a custom Invoice:
Here you get much more customisation, you are able to use the sub tabs to be more flexible with the time you want to include in your Invoice. Options include: this week, last week, this month, last month, all uninvoiced, or specific time (This allows you to enter your own dates).
You can also Invoice by User, Project, Task or use the Options button to select Billable and Unbillable time. This gives you the flexibility to decide how you want to handle your invoicing and can save time as you don’t have to go removing entries you don’t want in the next step. It also means you can un-check entries here and they will still be available for invoicing later (unlike when you delete lines in the next step).

Step 2 - Customise your Invoice line descriptions
Group, format, merge and create your line items (or delete them if needed but don’t forget, deleting entries here won’t show on the invoice but they will show up as invoiced time under the Invoice tab).
Formatting and grouping your line items:
Formatting your lines will change what appears in the description box, you can also type here to edit the description manually. You can format line items to include the date, user, task name, task description, project, project description and entry description. Click each one that you want to include.
Grouping your lines will group them together based on the category chosen. You can group by task, project, user, description, day and week. For example, if you group by User, MinuteDock will take all time entries included in the invoice and group them into one line item per User.
If time entries that are grouped have differing hourly rates, you may want to have a separate line for each rate.
Grouping by hourly rates is done by selecting which category to group and then checking the ‘One line per hourly rate’ box.

(Note: MinuteDock will remember these settings next time you come to bill that Contact).
Merging and creating line items:
Here you can also merge or create line items, This gives you the opportunity to group them into lines that may not be available in the grouping section. You could also group all entries together to just show one line and one total. If you want to add additional items to your Invoice just create a line item.
When you merge entries with differing rates MinuteDock will select the first line item and use that rate for all hours. If you need to you can drag line items to change the order. This comes in handy when deciding on what rate to merge.
Merge together all entries to just show a final total. You can also choose 'Summary' grouping and it will merge all entries together.

OR Show each separate entry to give your client an entire breakdown of your time and how you have charged it.

(Note: You can select your formatting via the buttons to edit what details come up in your description box or you can just type something in manually.)
Step 3 - Finalise your Invoice
Here you can change the number of the Invoice, your currency, date of Invoice and the due date.
(Note: If you check the automatic box for ‘Number’ it will leave the number choice up to your accounting system)
You can then save your Invoice as a draft or send your Invoice via email or to your accounting system to be sent from there.

(Note: When you select time in Step 1 and then delete it off in Step 2 using the X icon it will not show up on your invoice but will still appear as time invoiced. If you want the entry to be available for billing again you should select to create a custom invoice and uncheck in Step 1.)